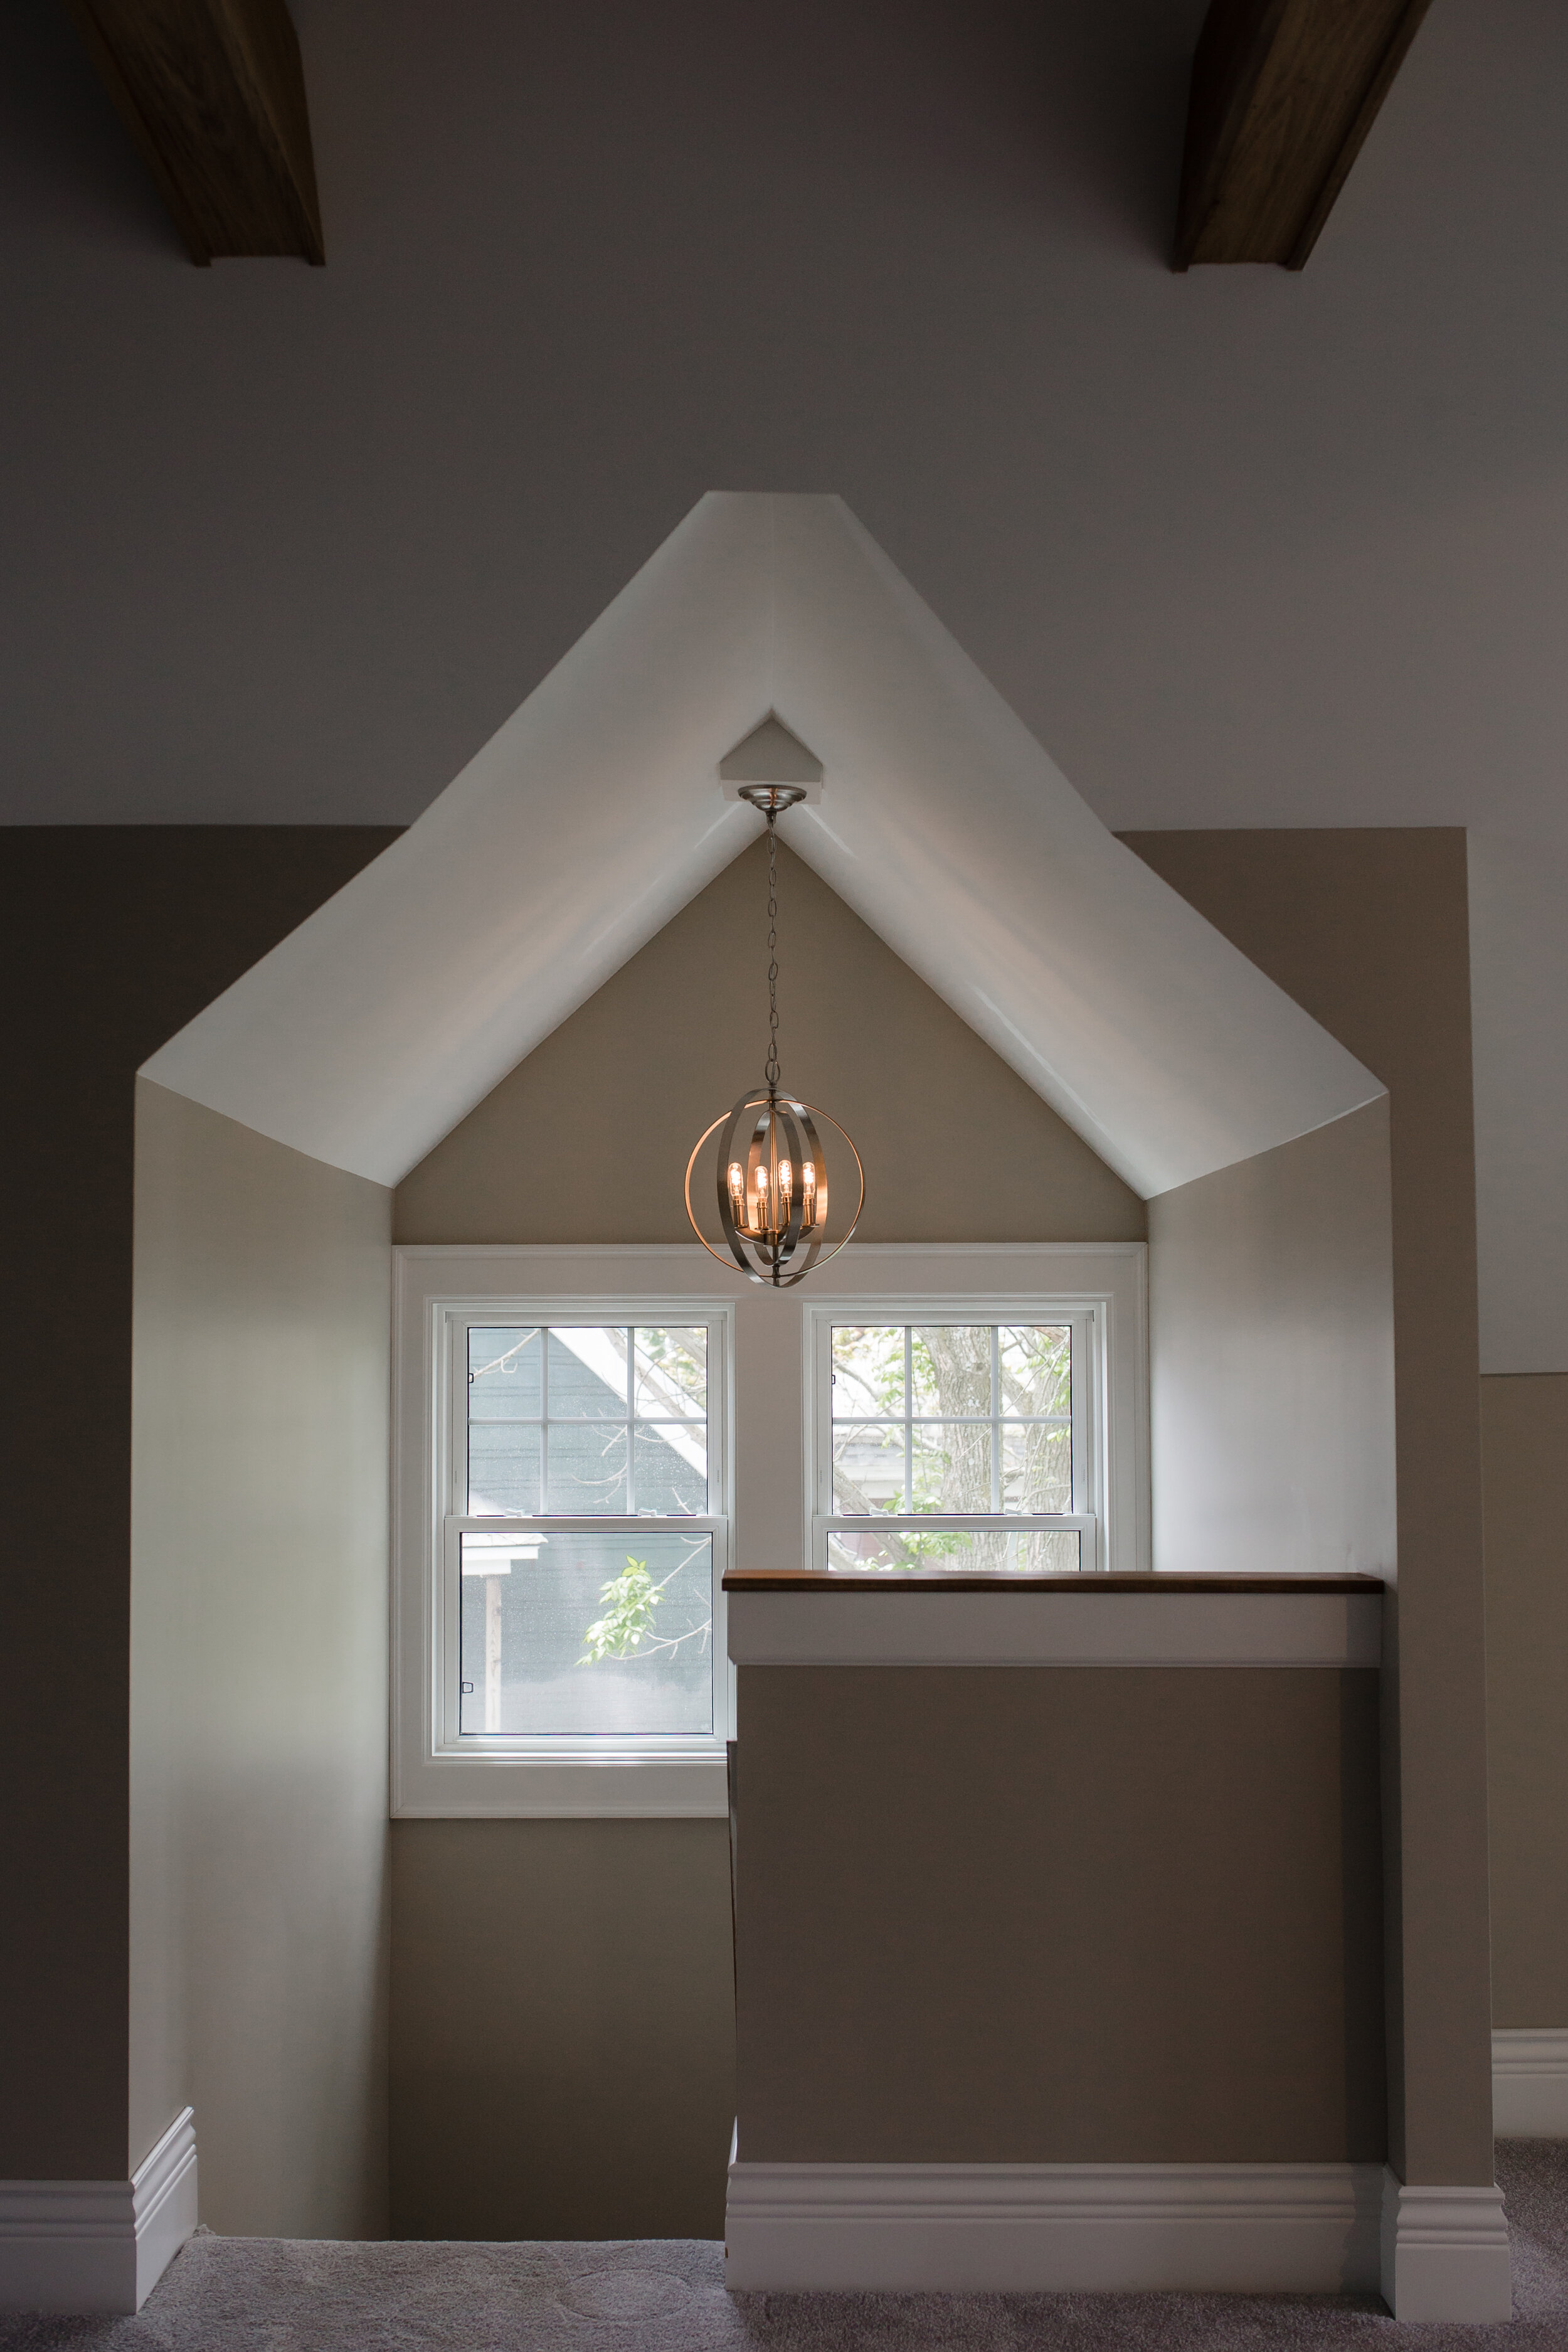
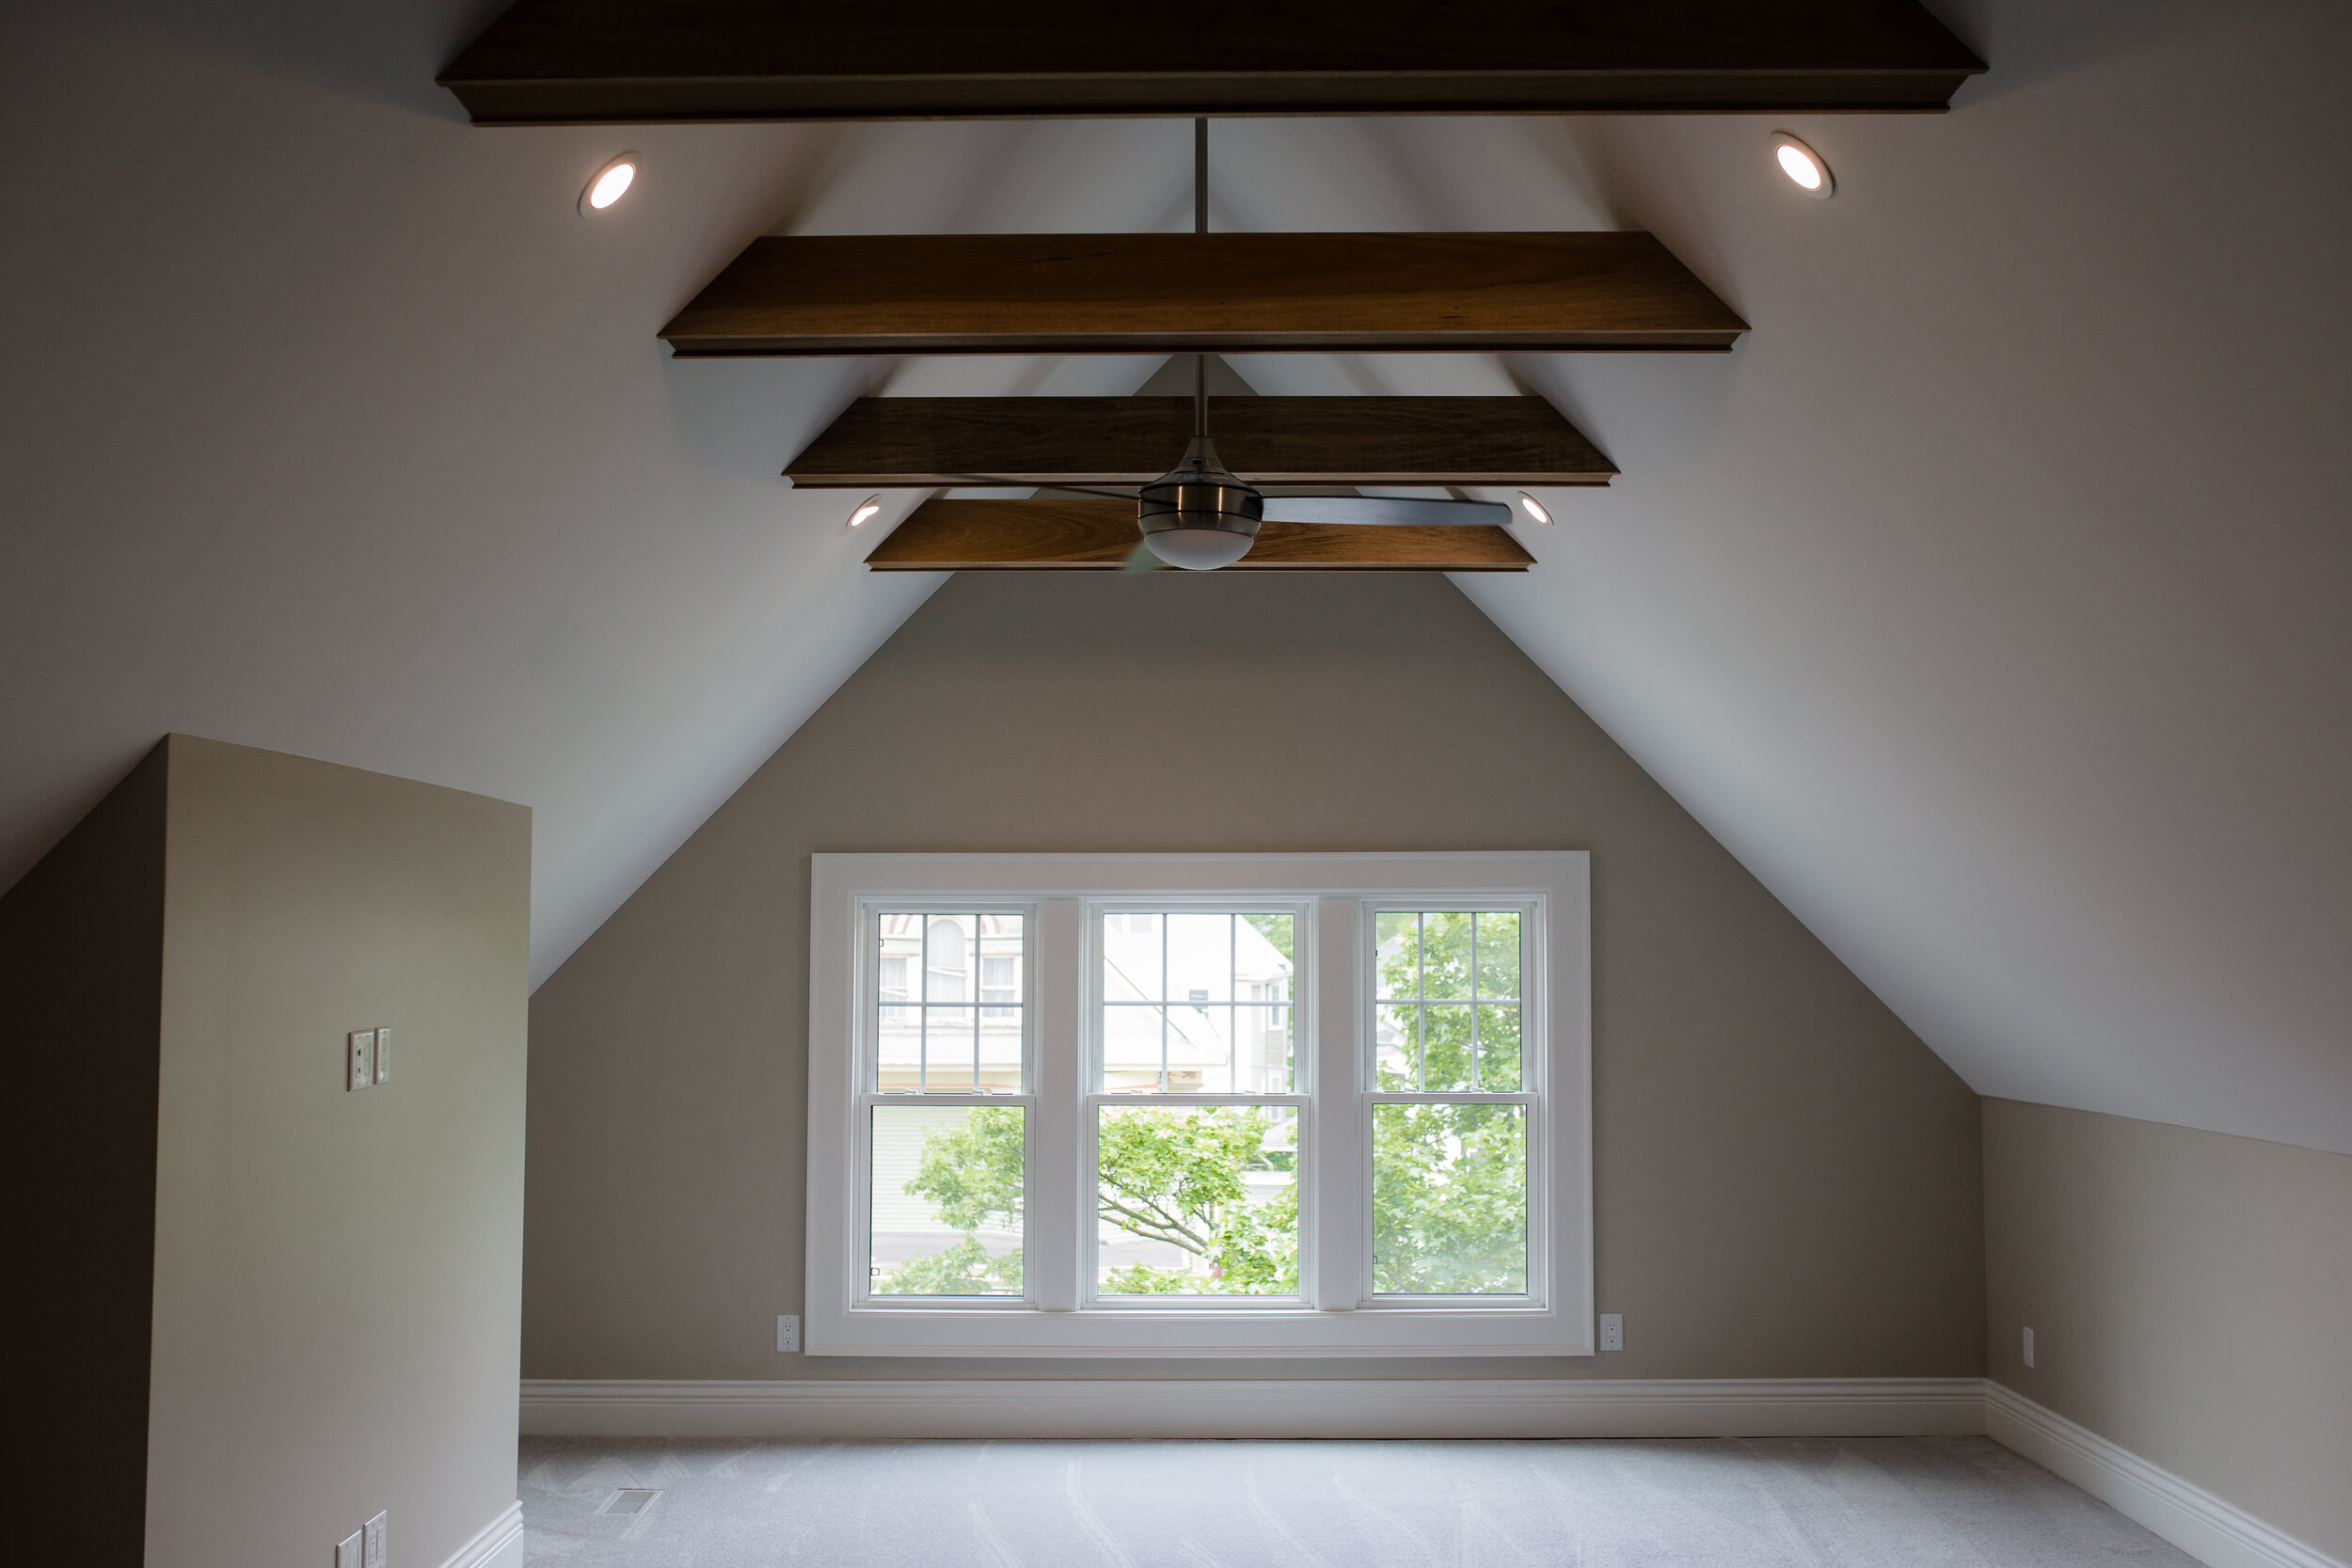
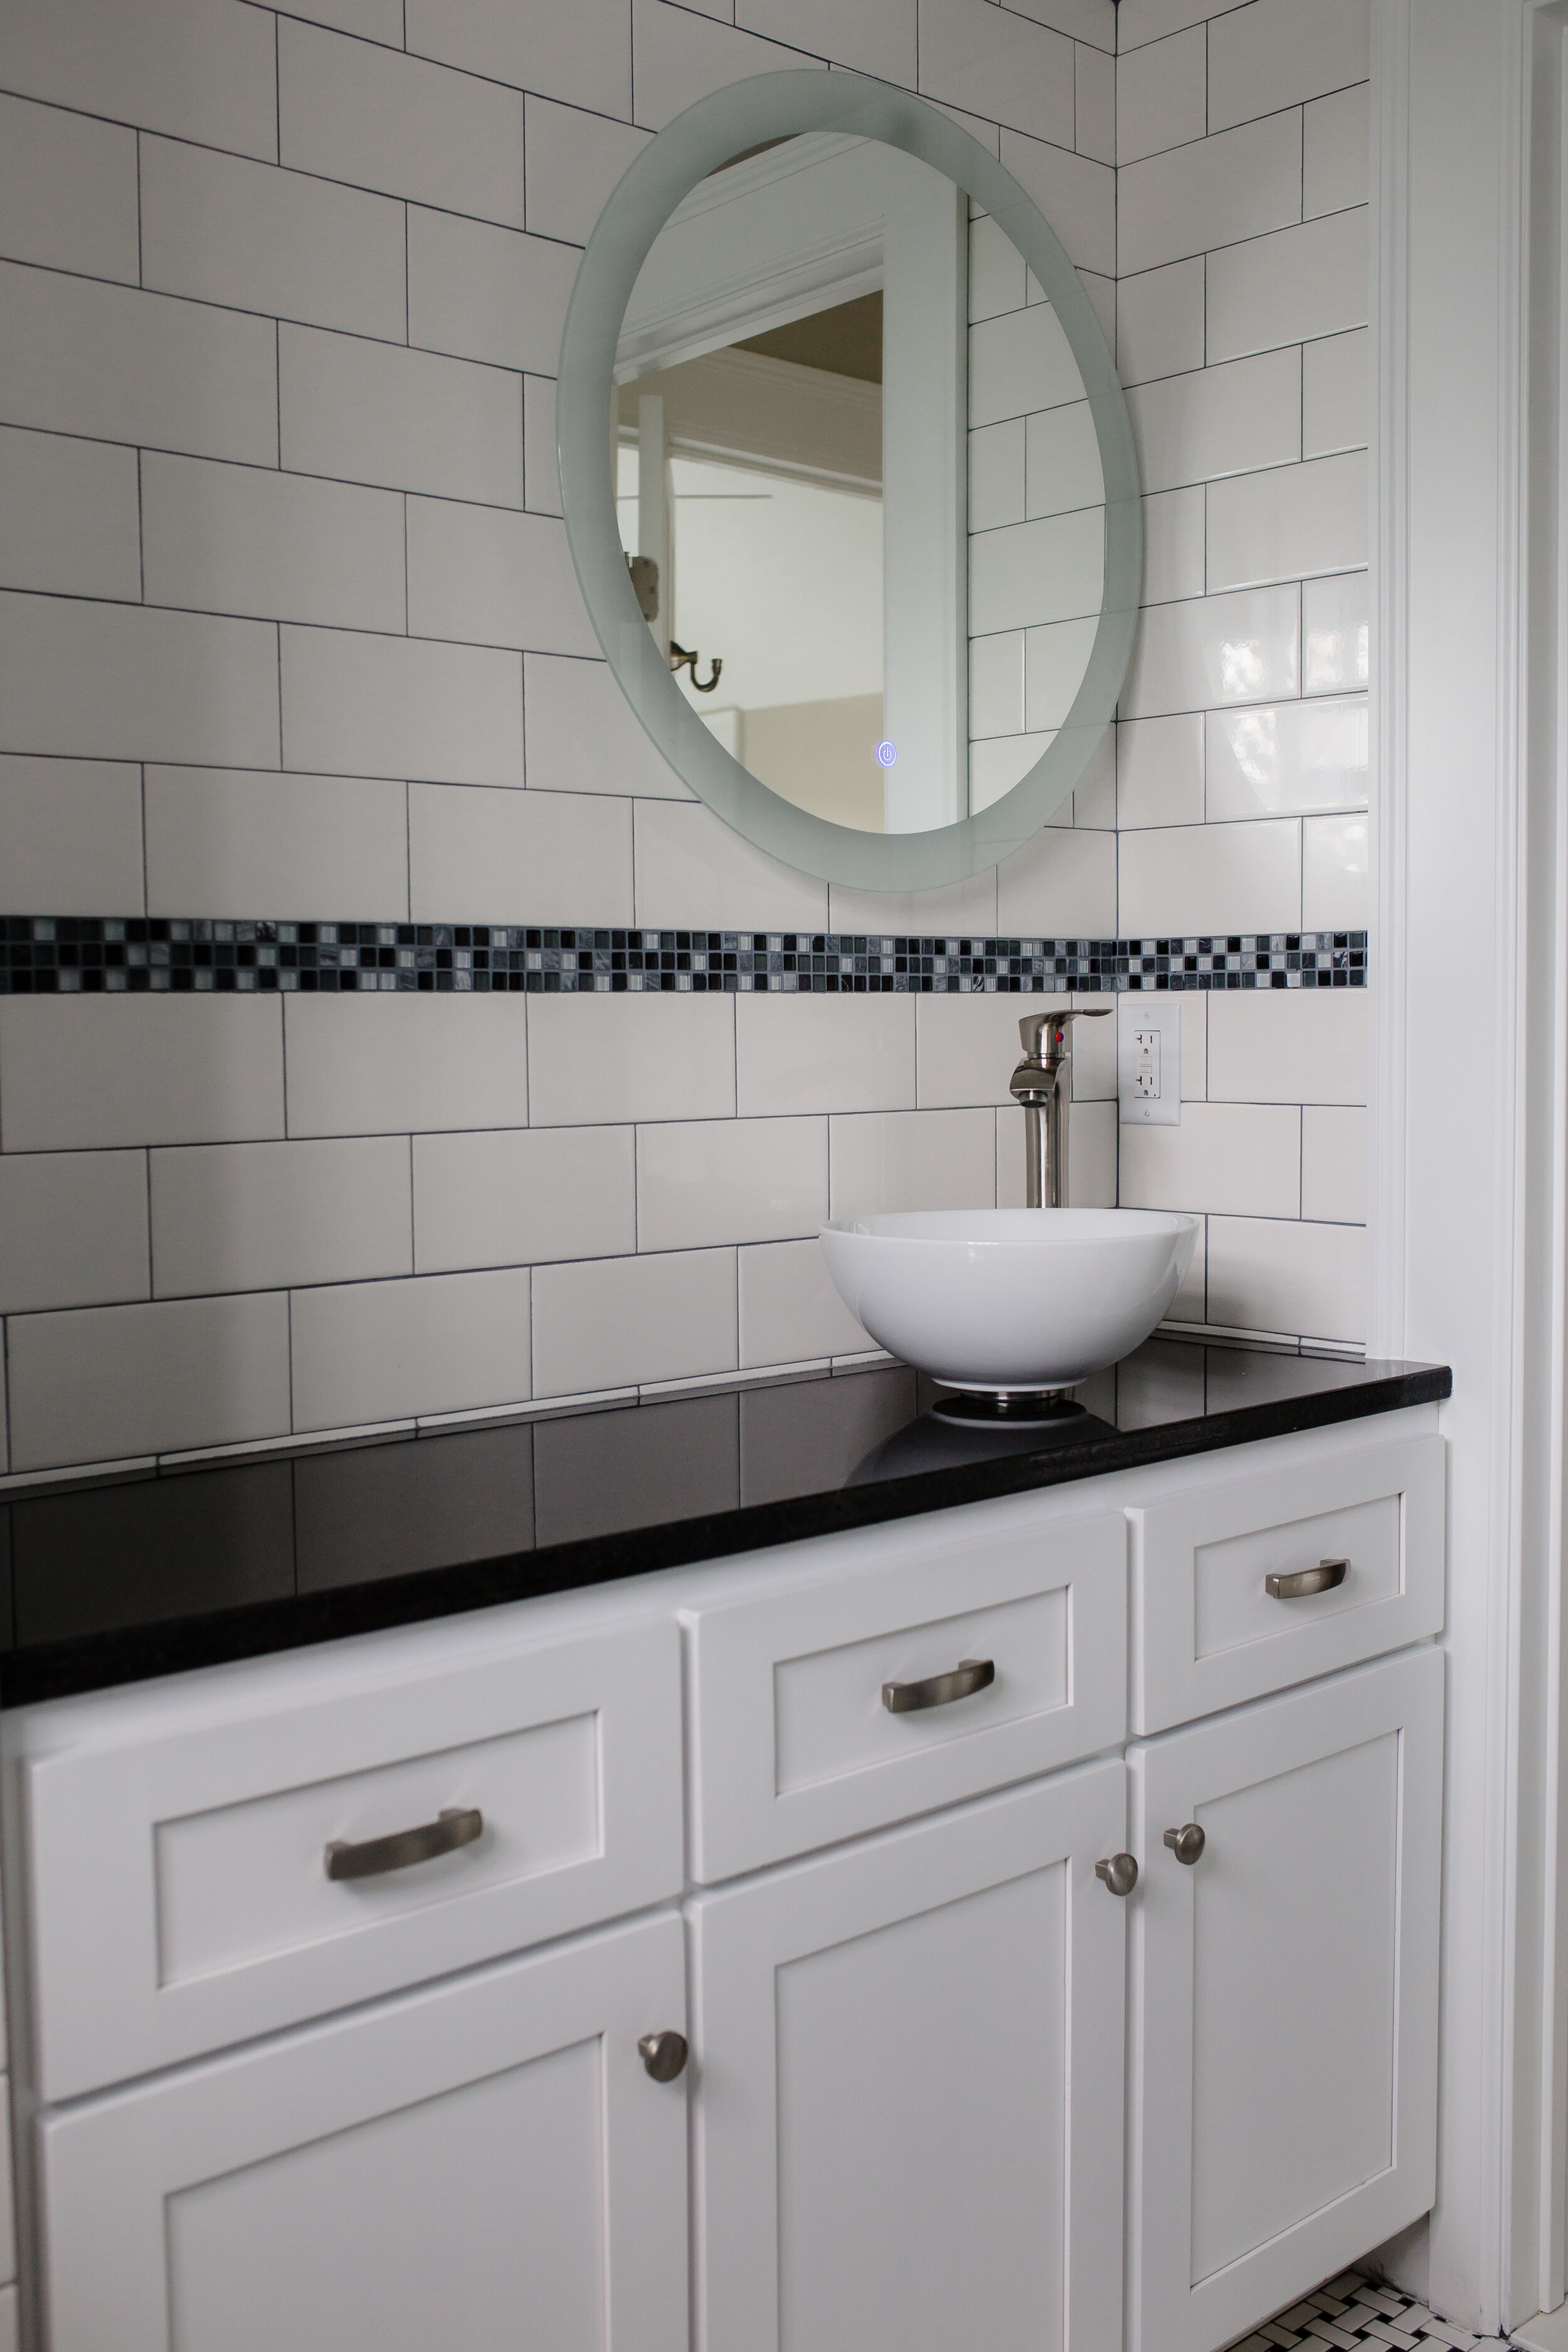
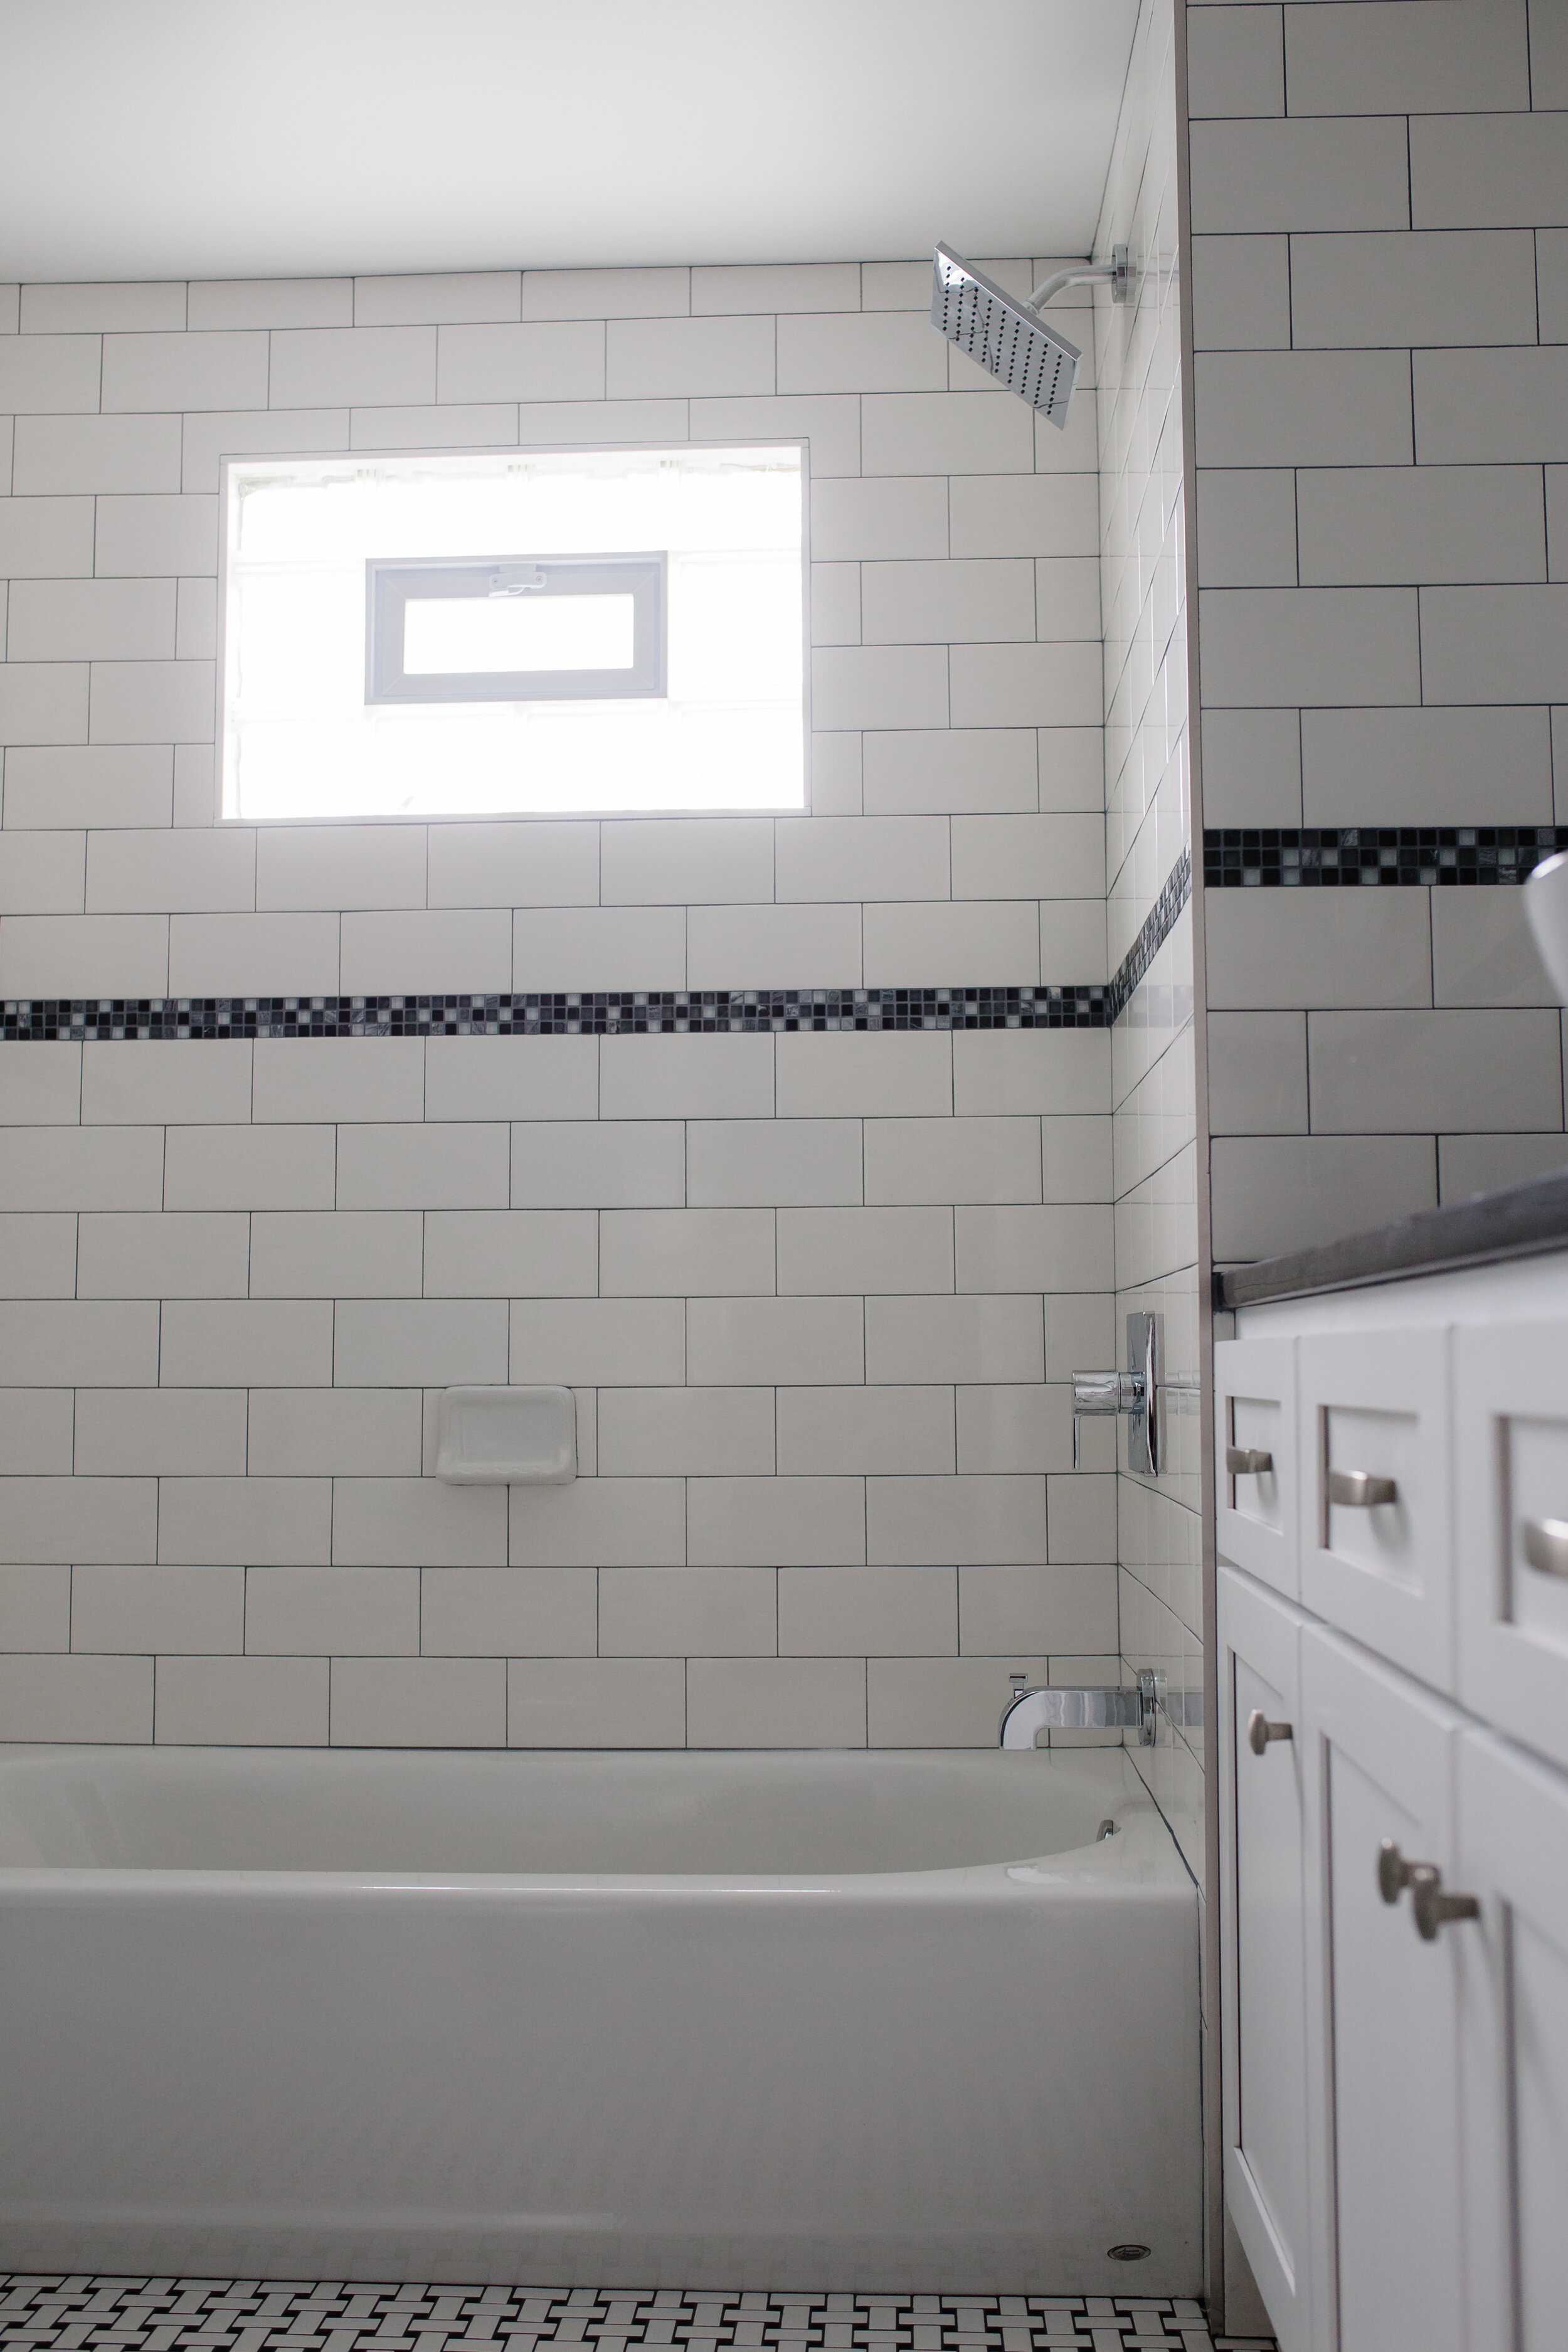
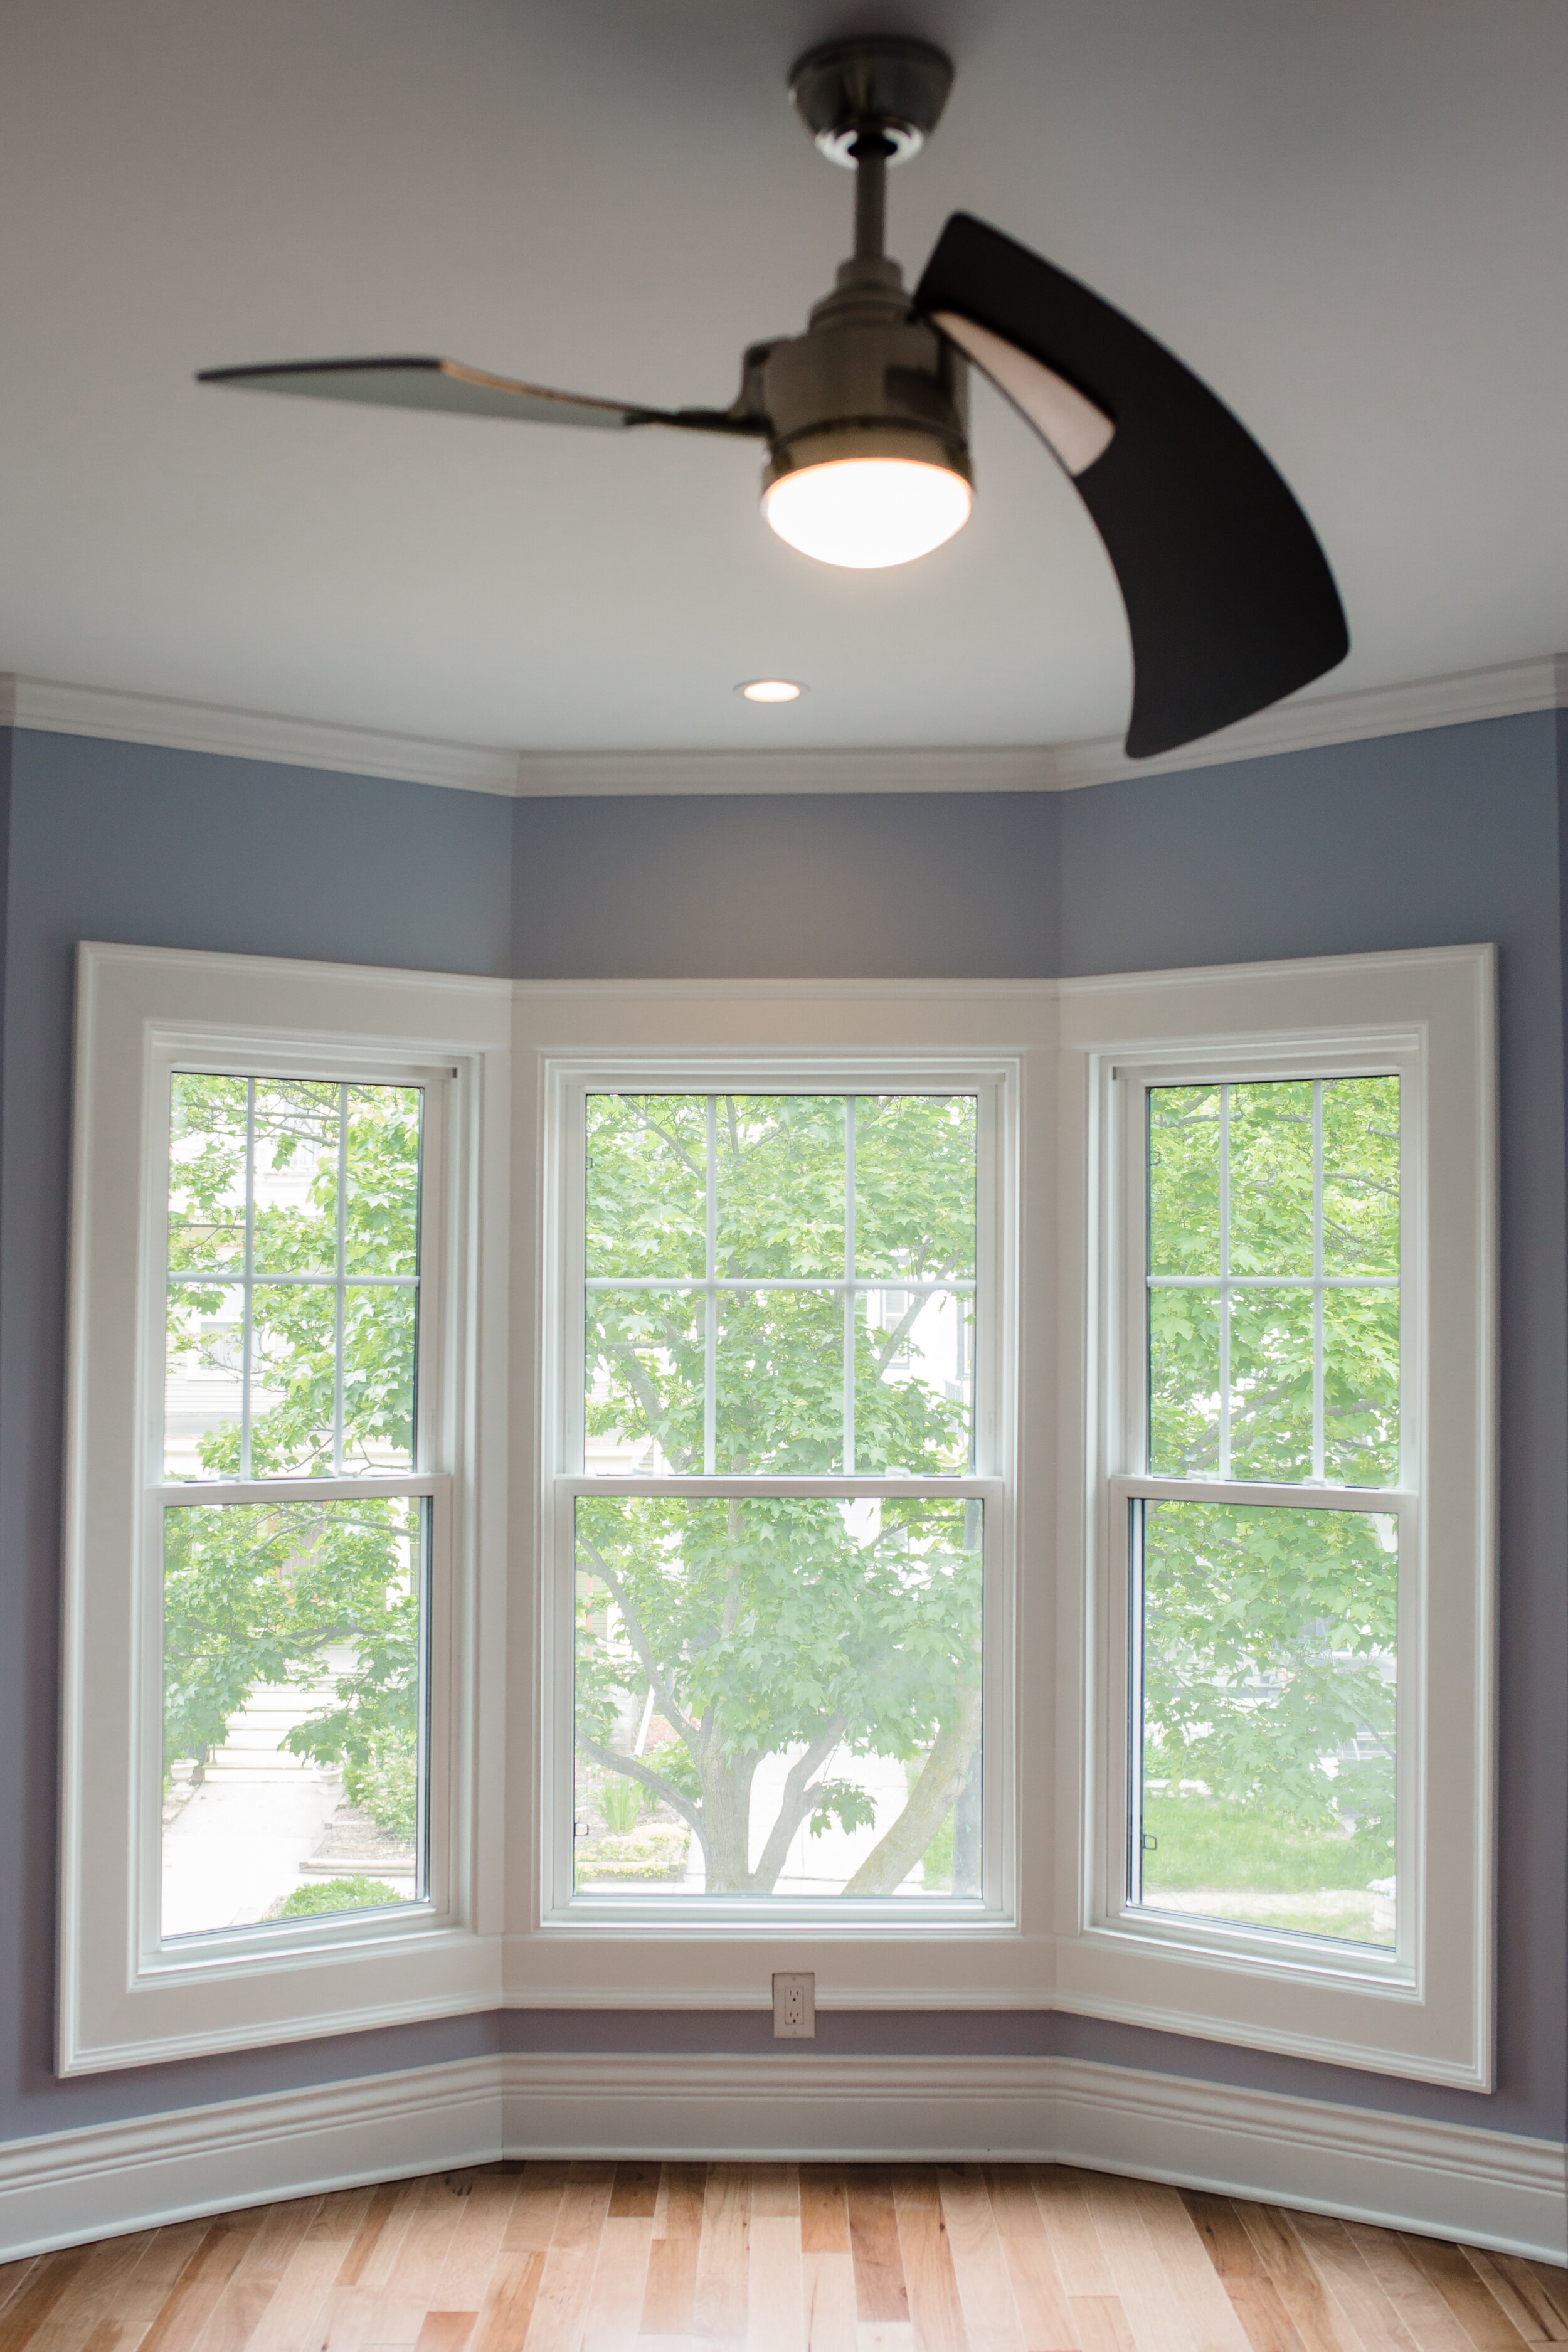
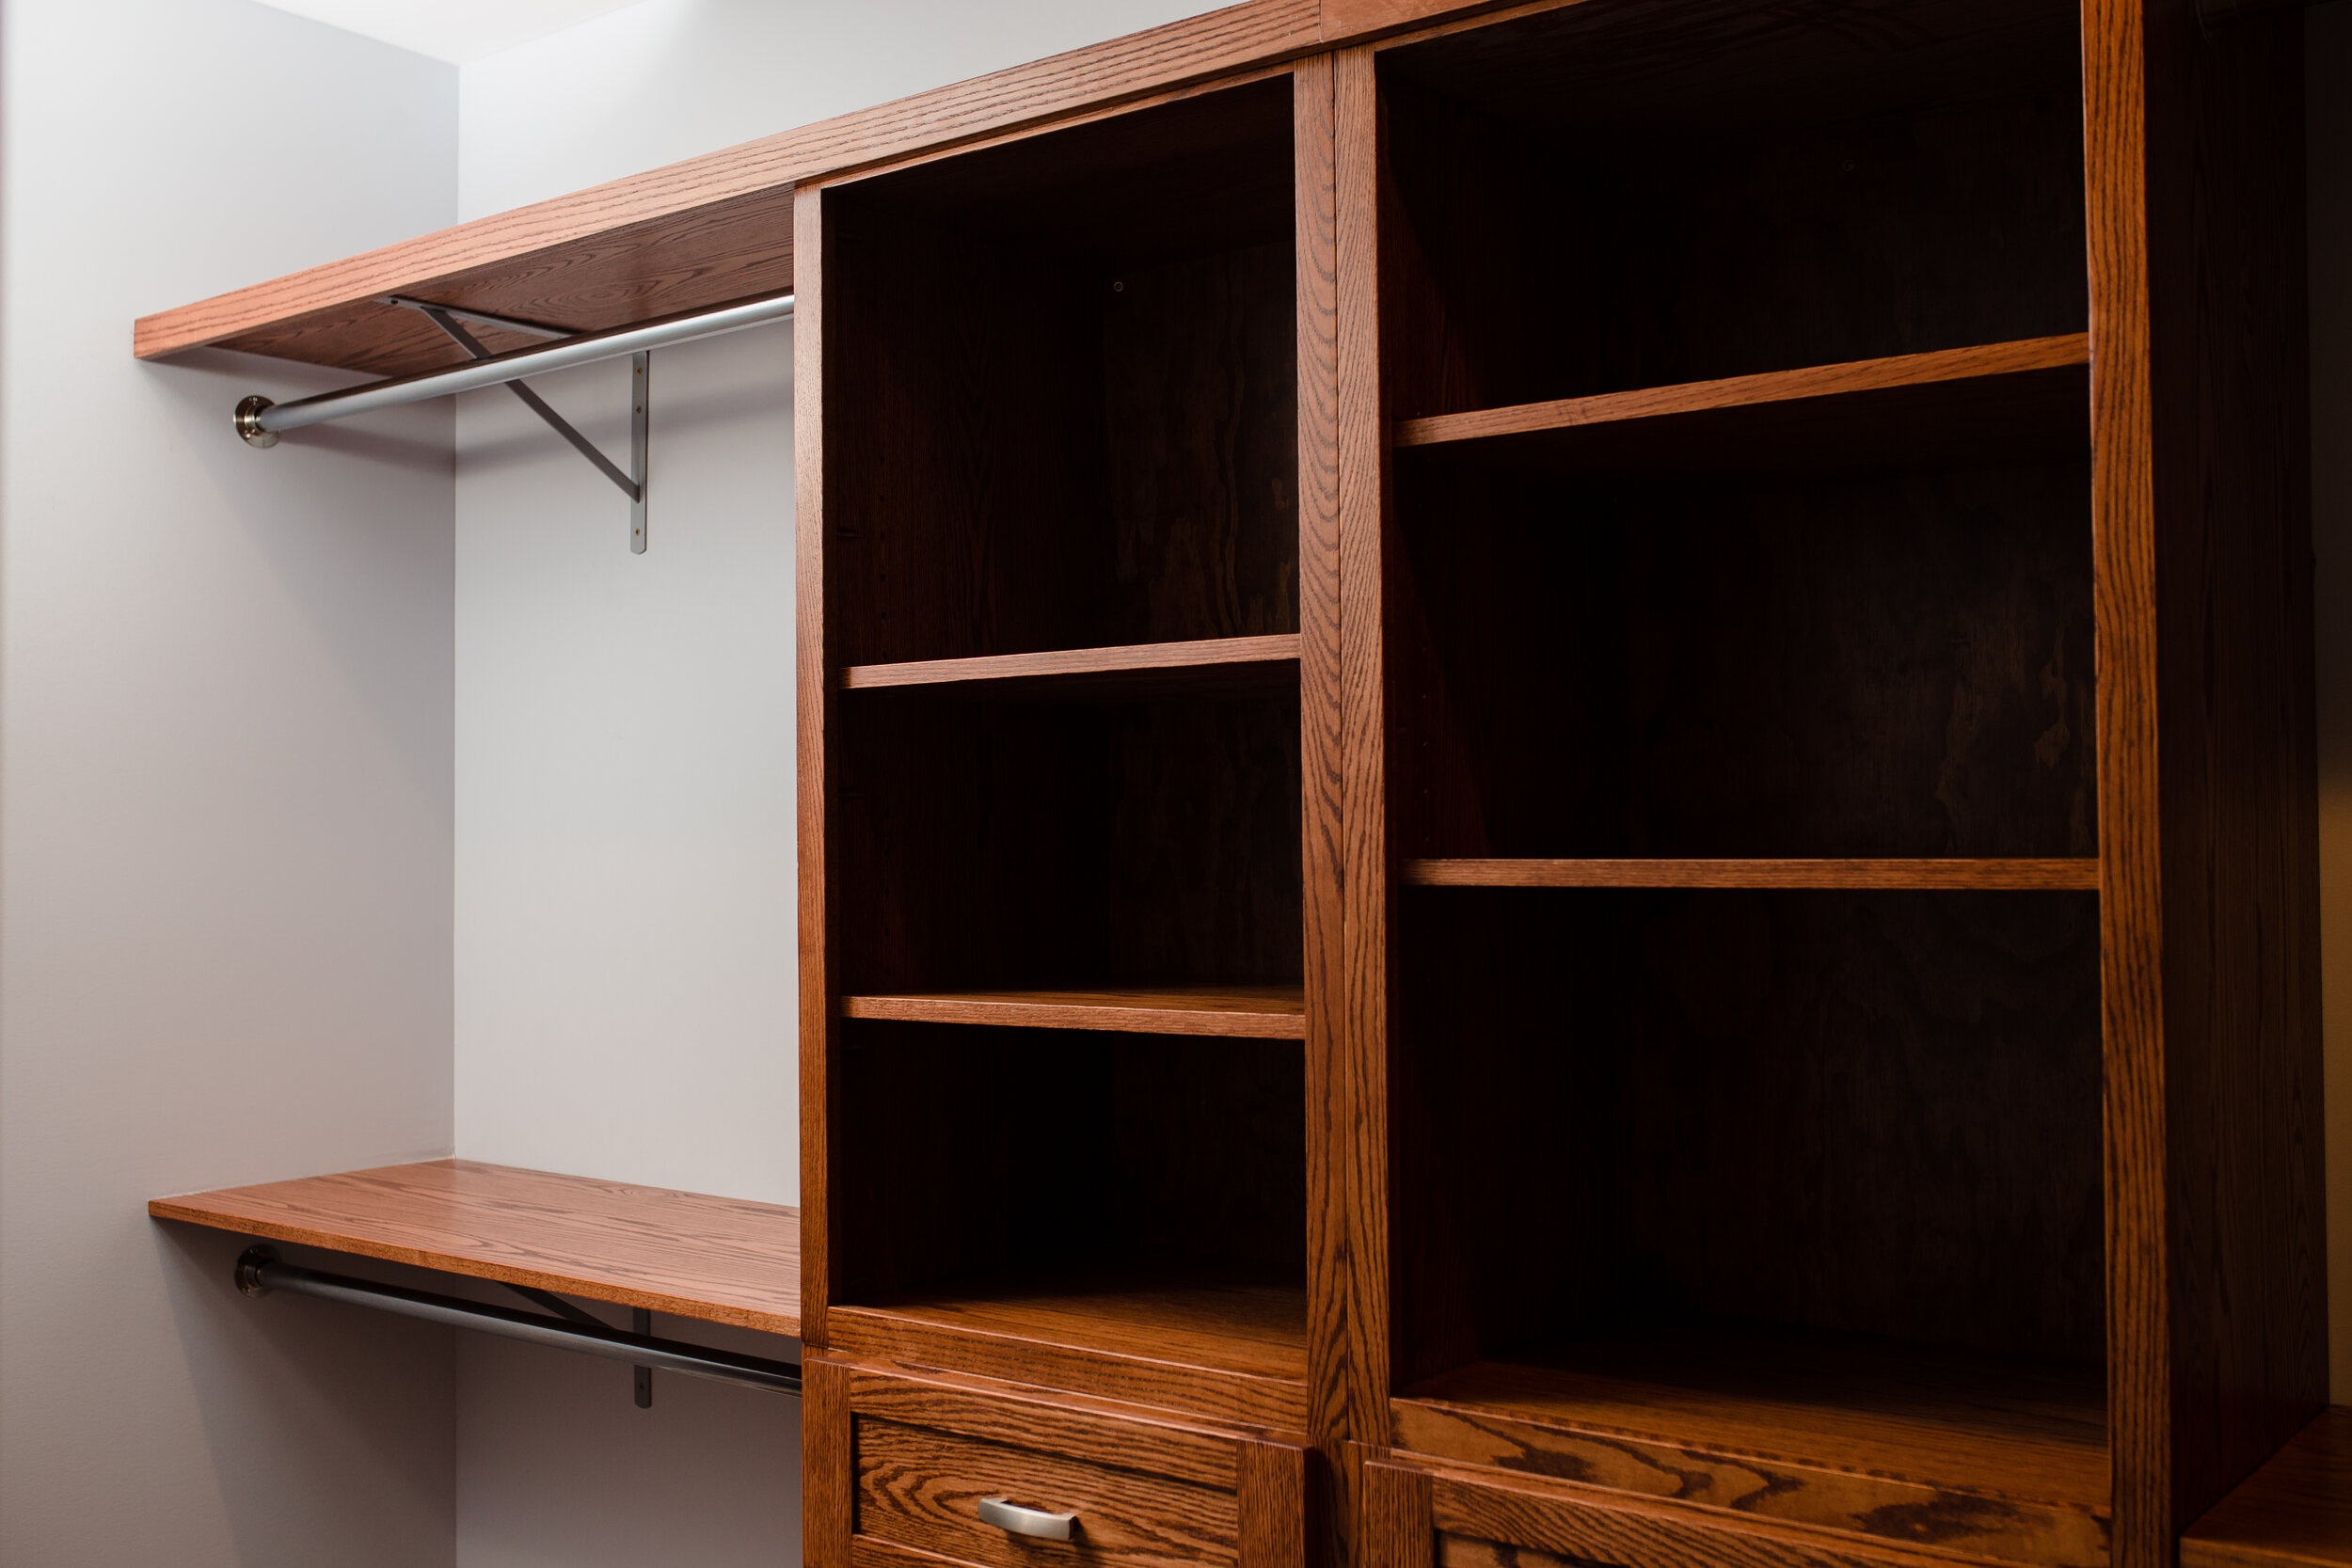
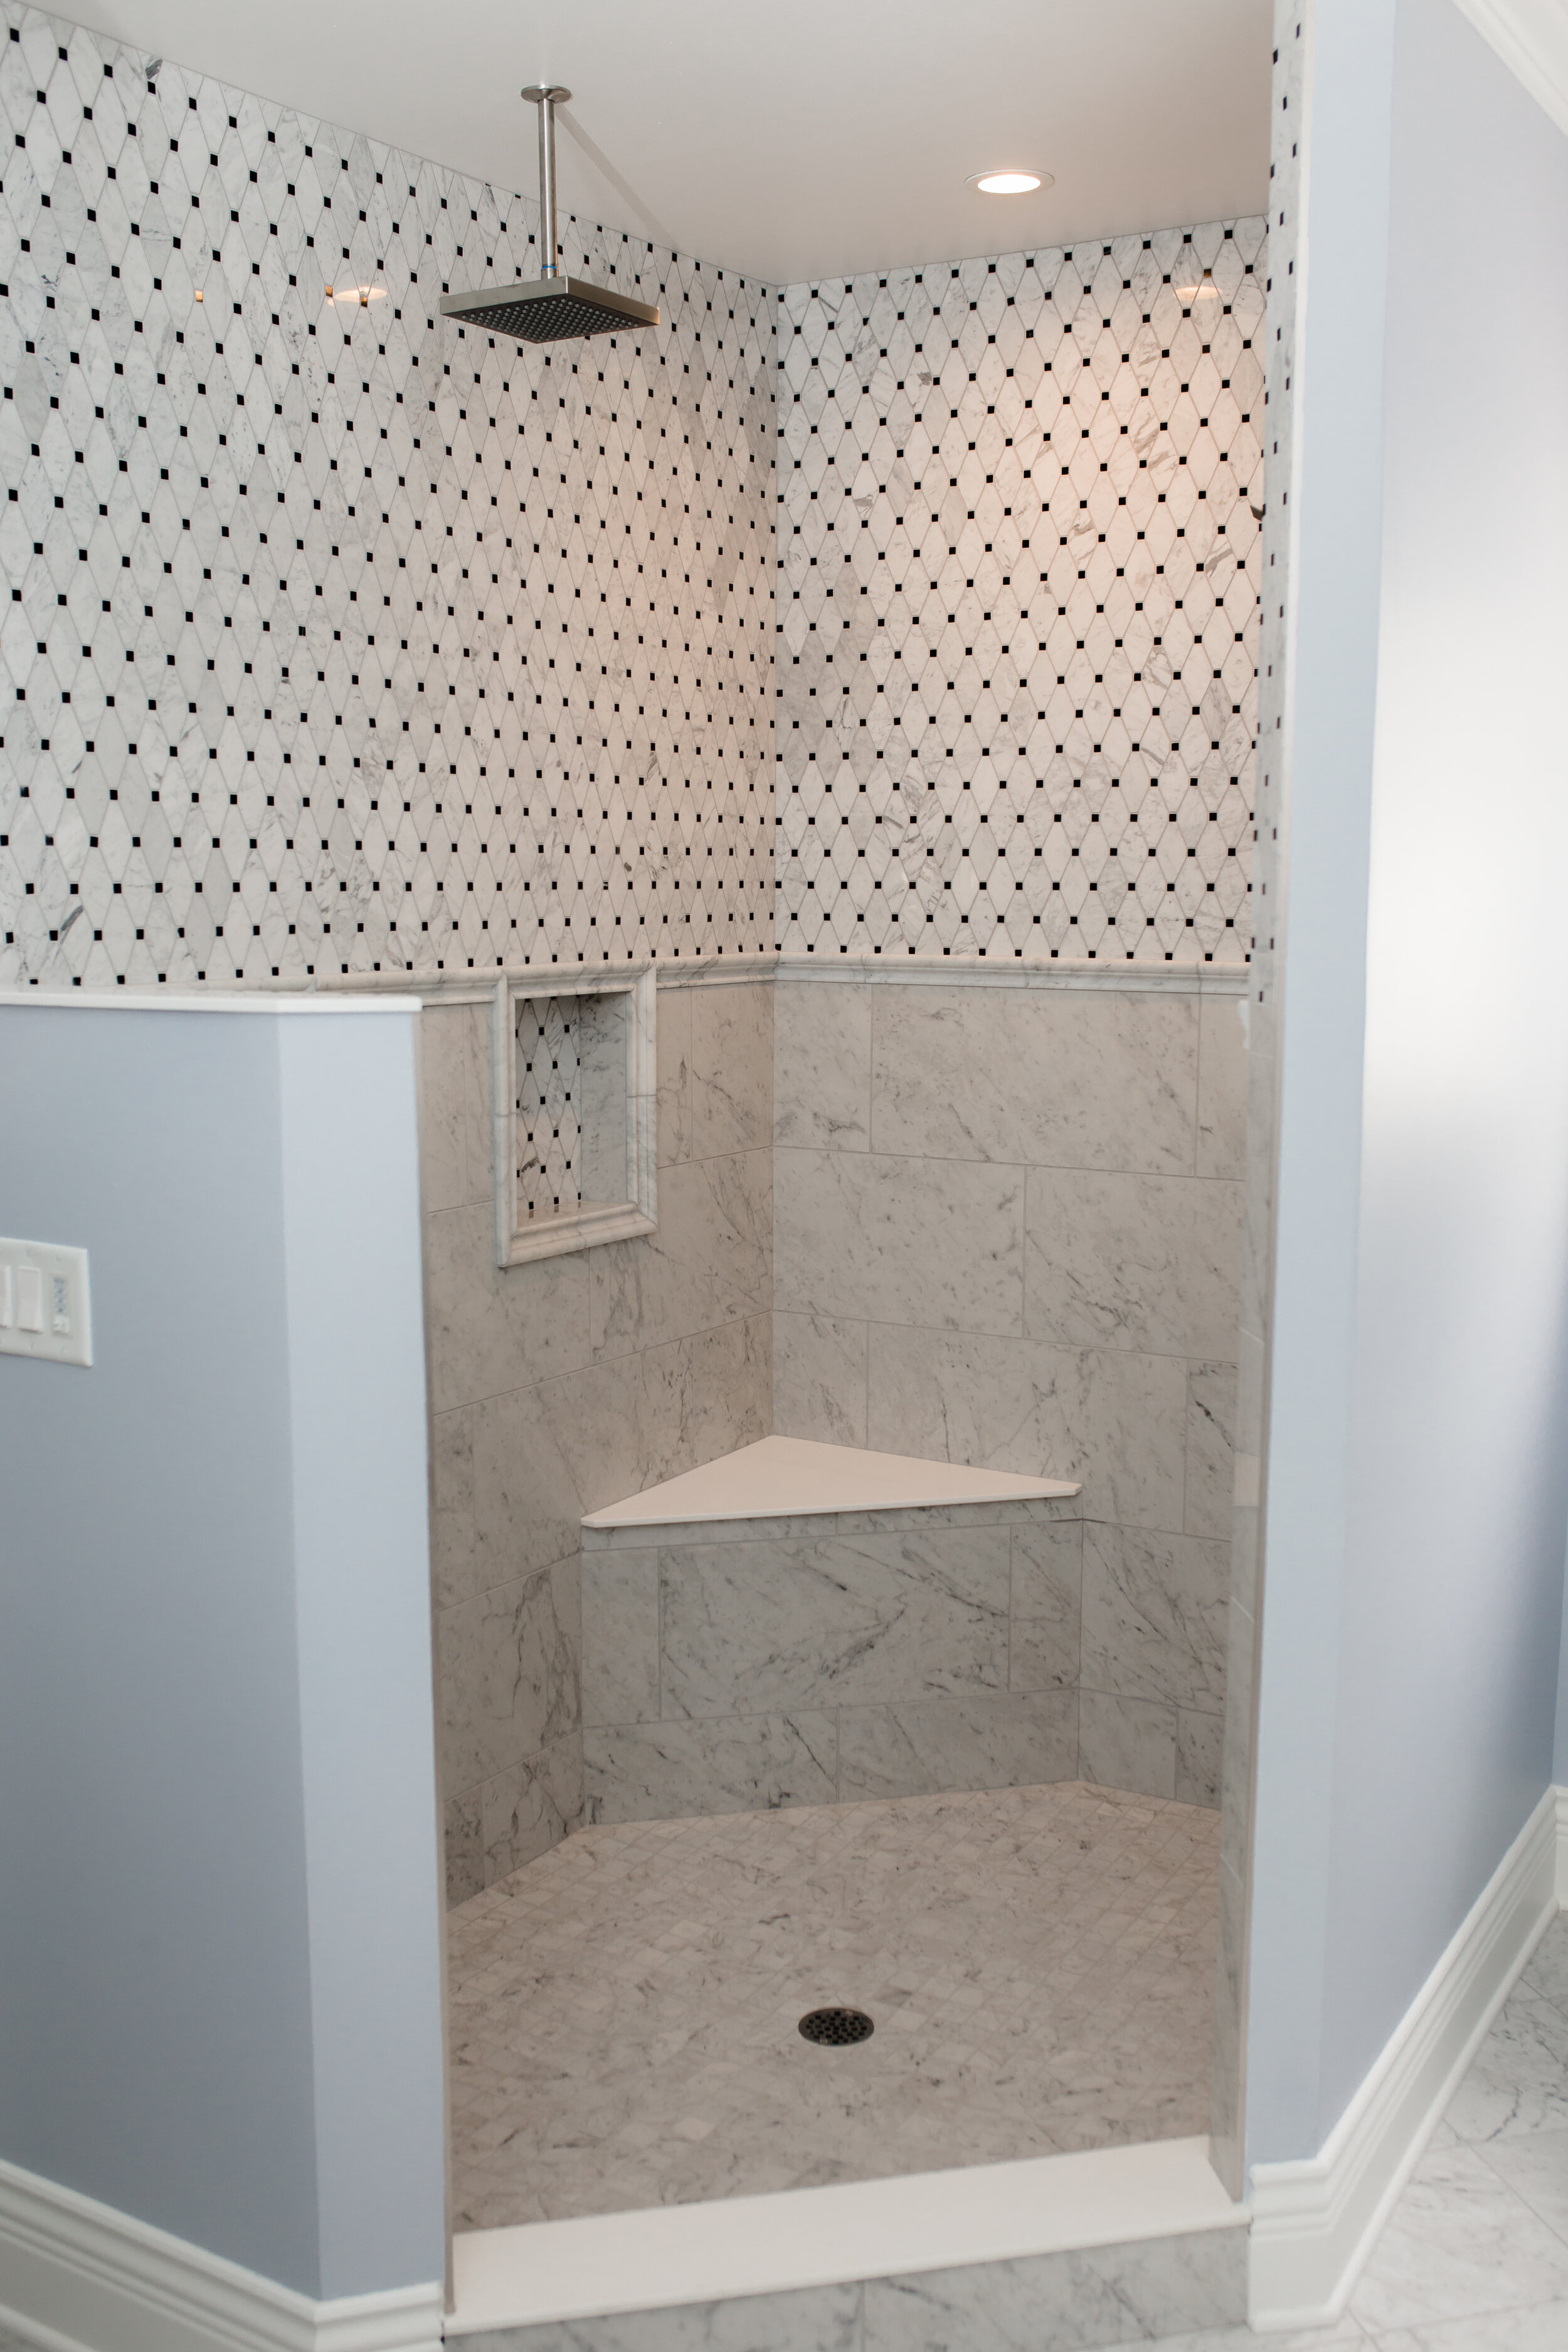
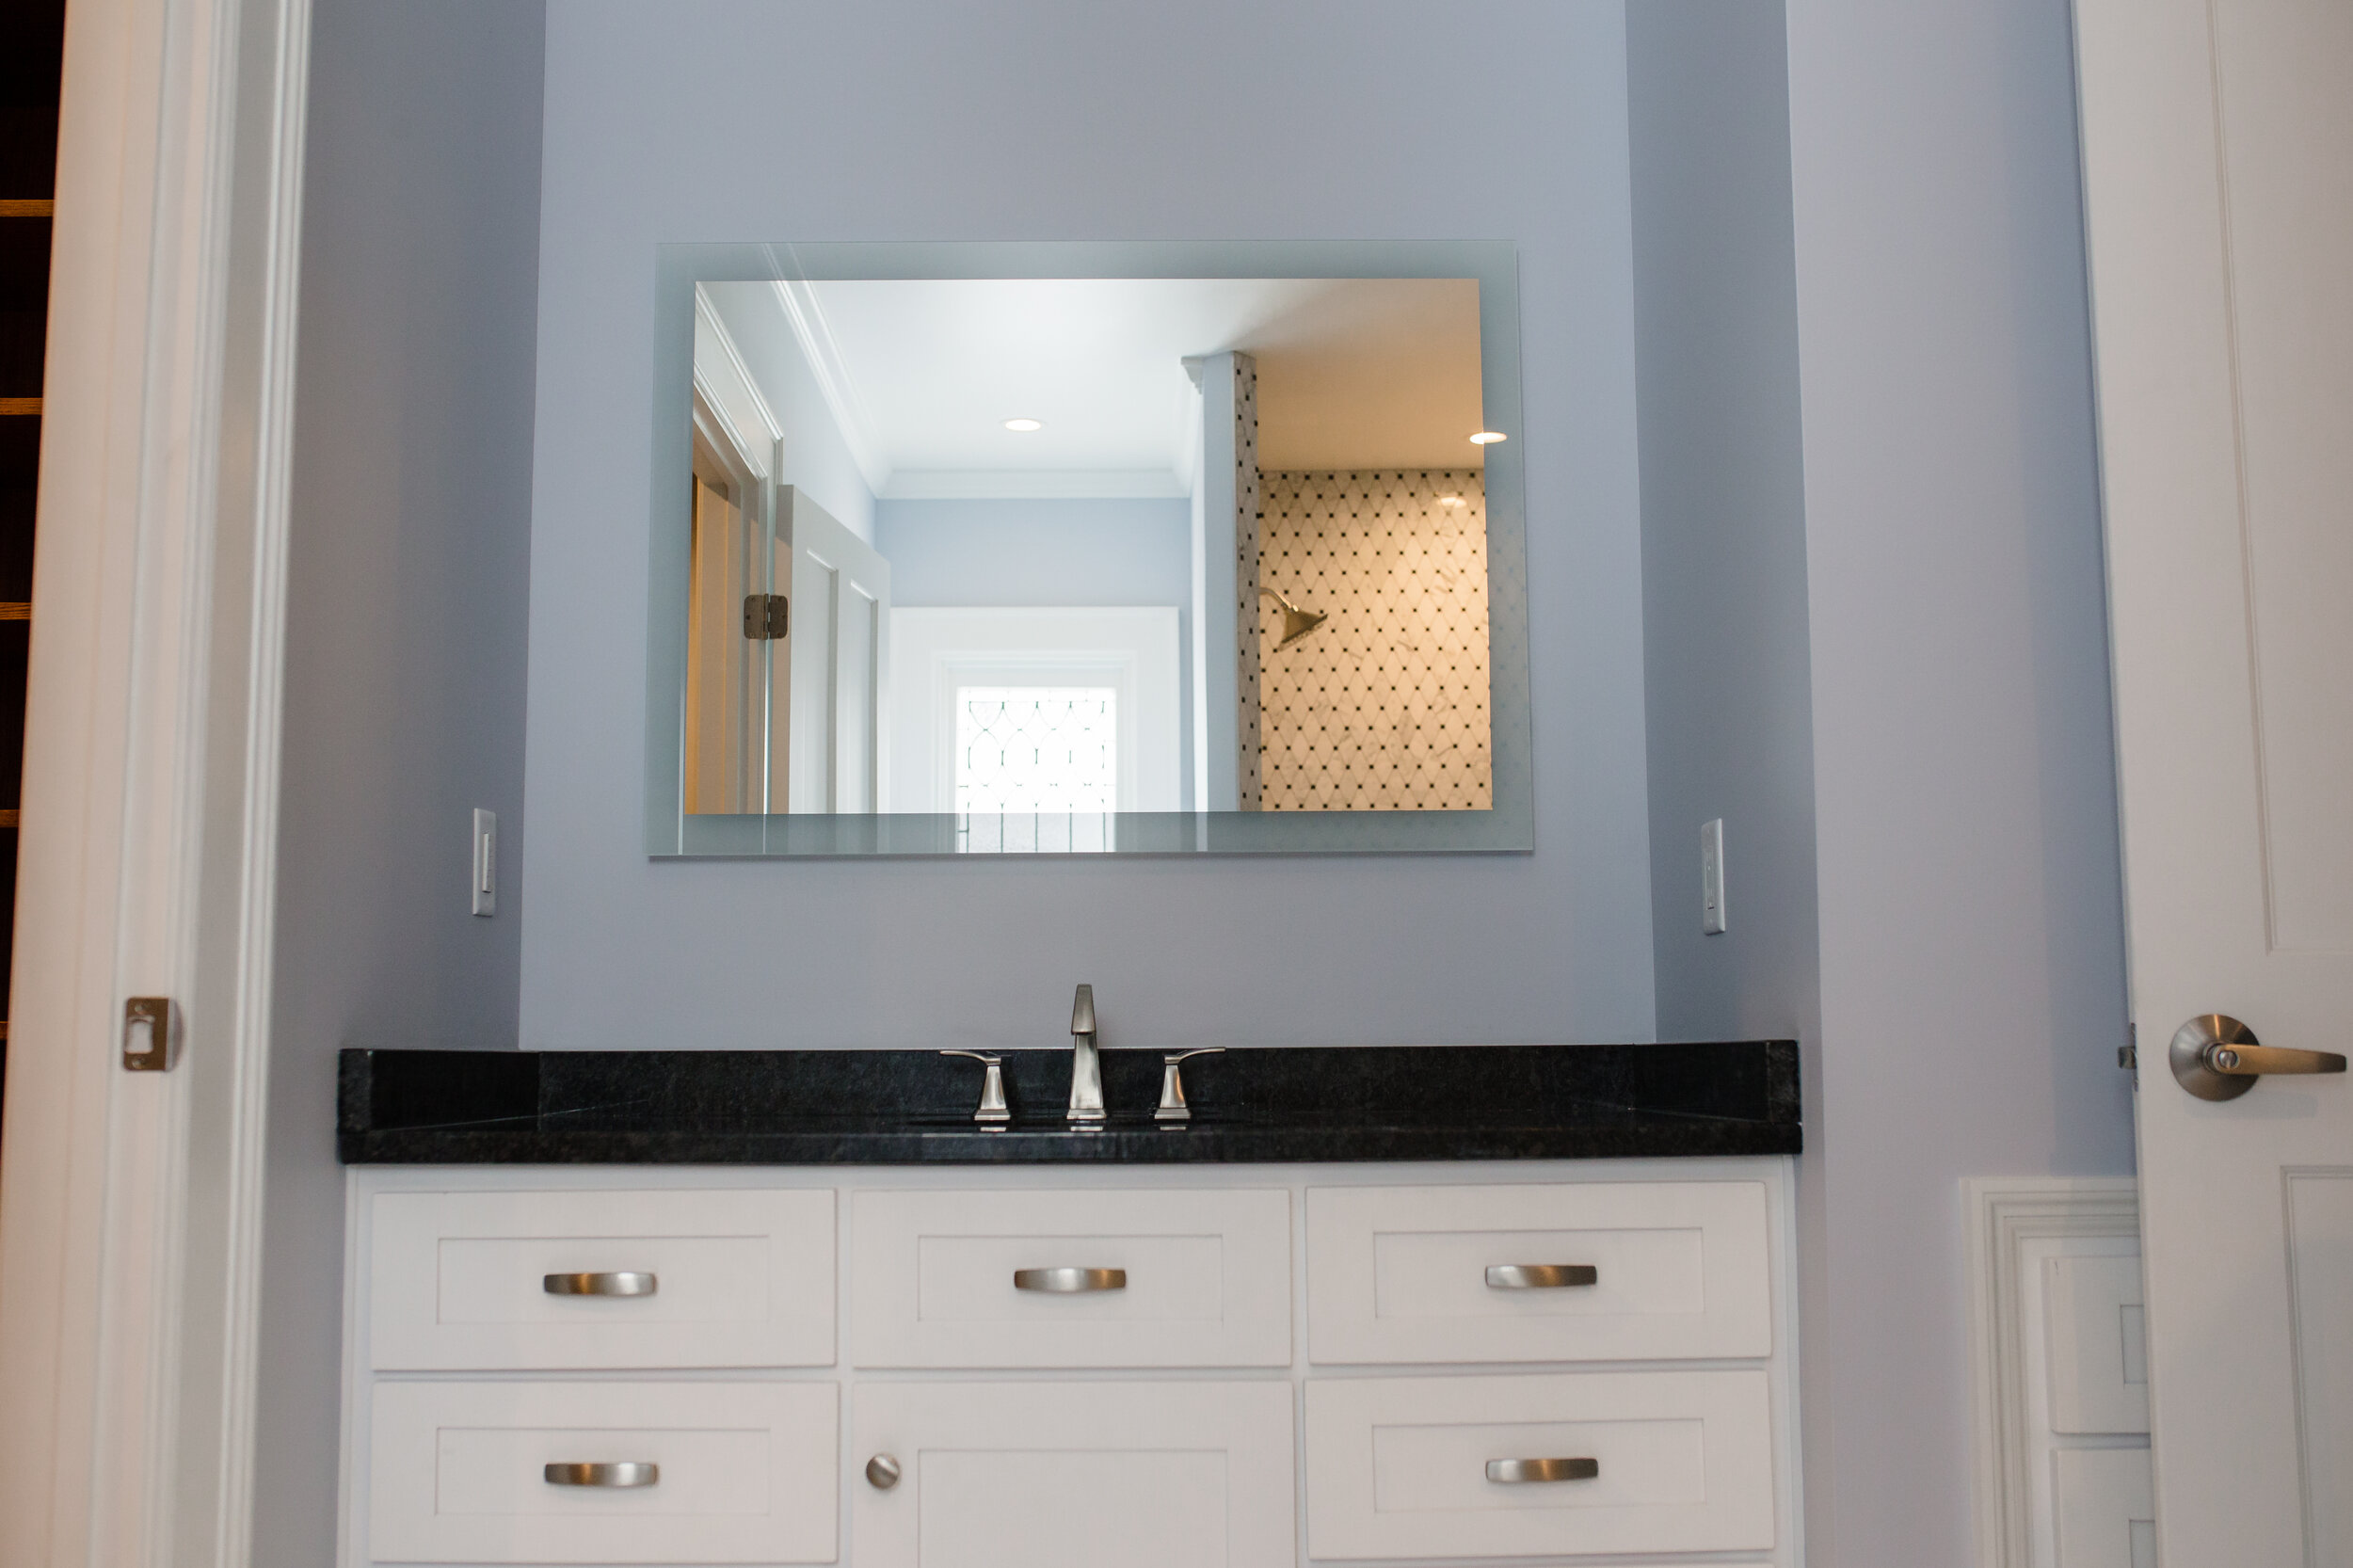
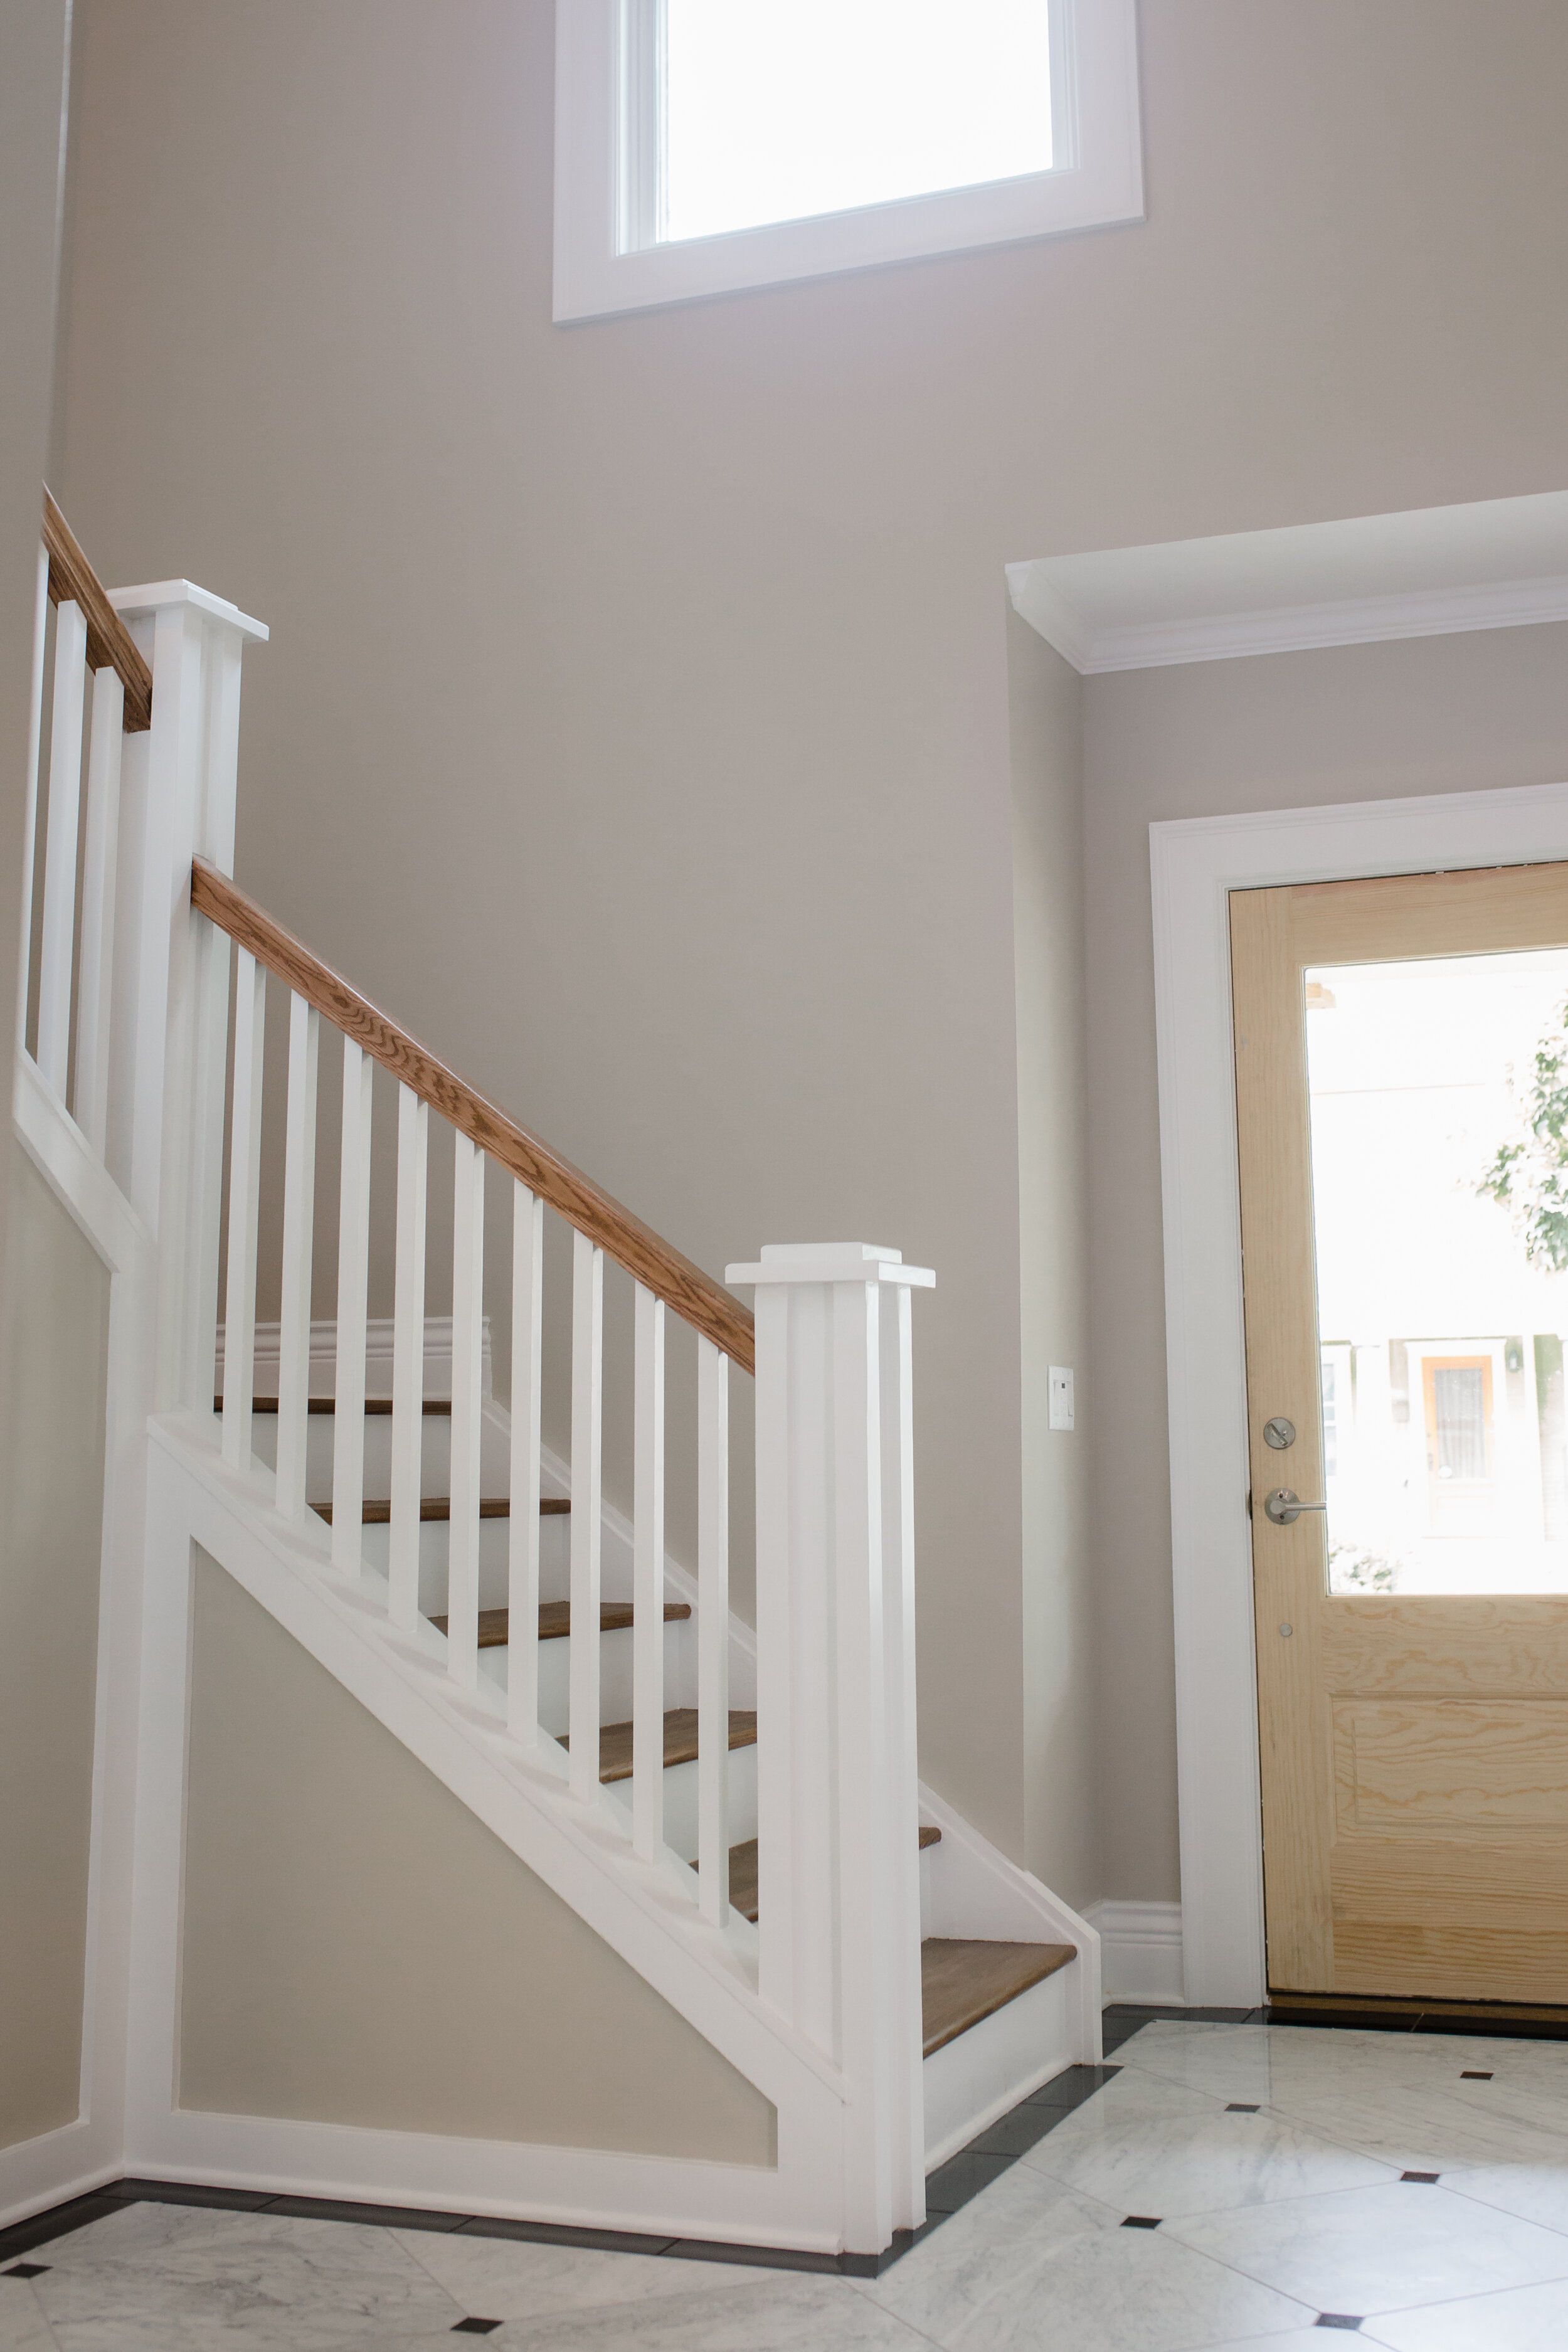
Picking the perfect paint color for your new construction project is one of the final and most important steps. The right selection ensures that you feel refreshed and satisfied in your new space. Below are some steps to help you along the way:
1. Pinterest and Online Inspiration: We first have to start by seeing what color schemes you tend to gravitate to. Do you like bright, happy colors, neutral/pale shades, or rich and moody color? One of the best ways to start finding this out is to collect ideas from online or from the homes of friends and family. You'll start seeing a pattern to your preferences. Once you know the general scheme you prefer, we can move onto the next step.
2. Narrow It Down: Now that you know the general scheme that you prefer, you can start the process of looking for an actual color. Again, Pinterest and online decorating blogs are a great resource. For example, if you know that you like taupe, search for "Sherwin-Williams taupe colors." Oftentimes, people will share pictures and descriptions of the paint colors in their homes and you can get a general sense of the color. Pick 2-3 colors and head to the paint store!
3. Sample It: It may seem like a waste to have to buy the sample containers of paint but it will save both time and money. A small sample chip from the store is NOT going to give you an exact idea of how it is going to look on your walls. Once you have the paint, paint each color on large pieces of white cardboard. This allows you to carry it around to different locations of lighting in the area (by a window, in a darker corner, in an area lit predominately by incandescent lighting, etc.). Remember, the color/warmth/richness changes according to the available light. If you have the ability to paint an entire section of wall to do a final test, then go for it.


